Appendix B — Synchronizing your assingment repository
After you have finished one tutorial or when the instructor has updated the upstream repository, you will need to synchronize your tutorial repository with the upstream repository. Instead of doing this through the command line, it is recomended to do this through the GitHub website.
Once your instructor has updated the upstream repository, a pull request will be created on your tutorial repository. You will need to merge this pull request into your tutorial repository.
First push your local changes to the remote repository.
For main branch, you can use the following command:
git push origin mainFor your branch, you can use the following command:
git push origin <your-branch-name>It is best practice to push your local changes to the remote repository from all branches before synchronizing your tutorial repository with the upstream repository.
B.1 Synchronizing your tutorial repository - main branch
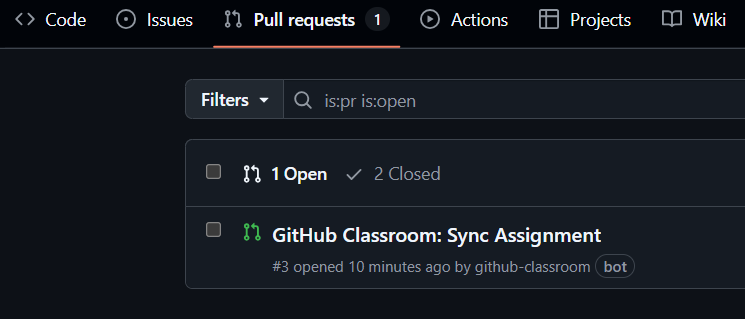
Navigate to your tutorial repository on GitHub. Click on the Pull Requests tab. Here you should see a pull request from your instructor as shown in Figure B.1.
Click on the pull request to open it. You will see that this pull request is created by your instructor through GitHub Classroom.
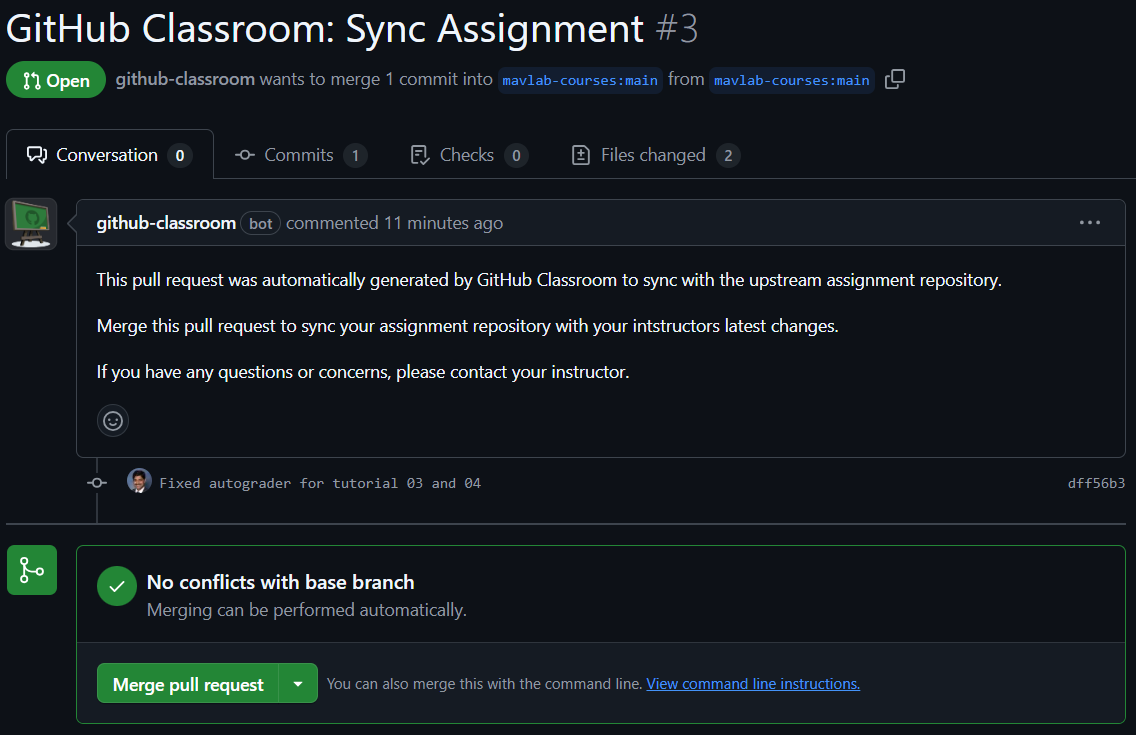
If you click on the commit shown in Figure B.2, you will see the changes that have been made to the upstream repository. In general you need not be concerned with the changes made by your instructor, but you can click on the Files changed tab to see the changes.
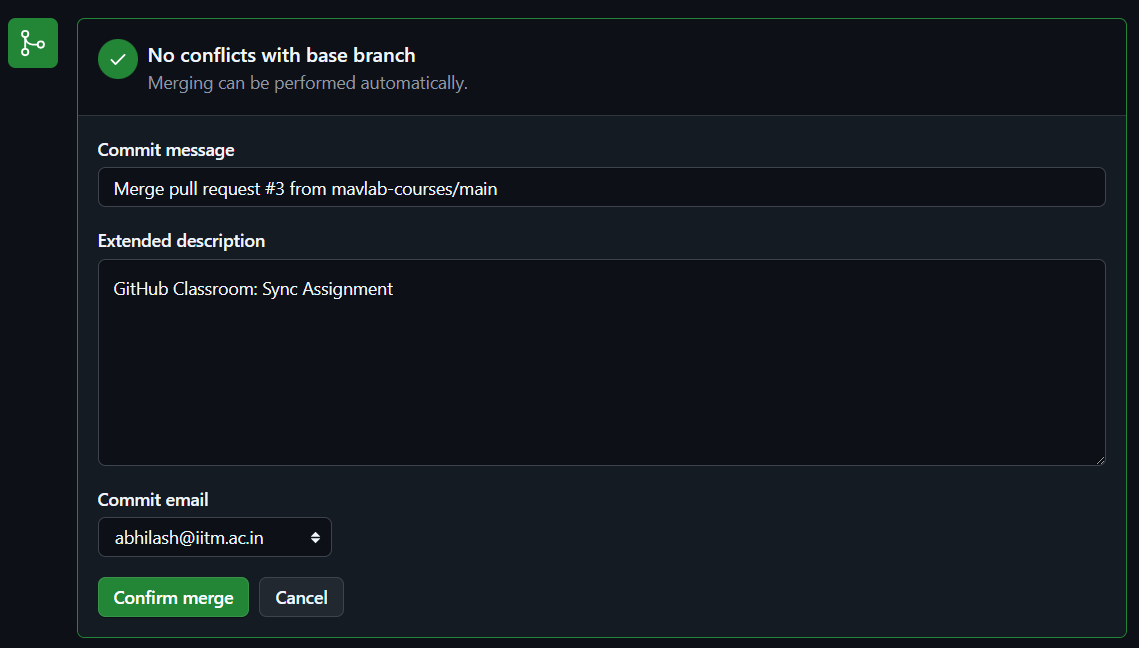
Now, you can merge the pull request by clicking on the Merge pull request button. This open a new dialog as shown in Figure B.3 where you can add a commit message and confirm the merge.
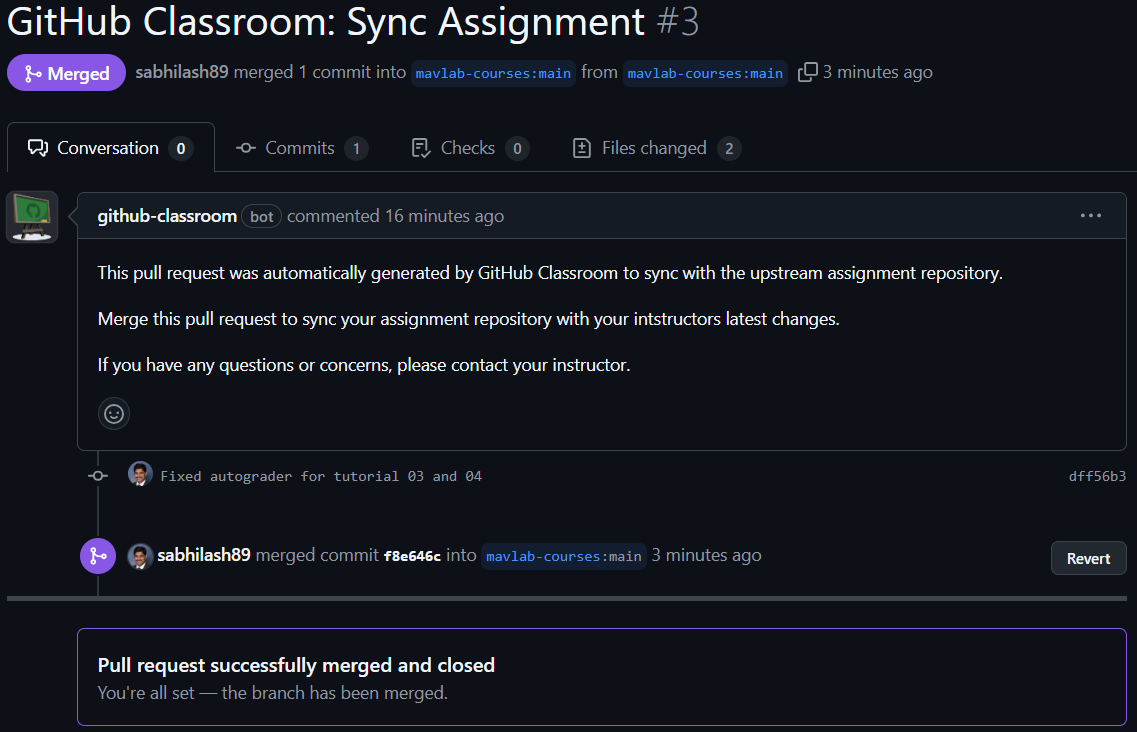
Once you have merged the pull request, you will see that the pull request is now closed as shown in Figure B.4.
Remember that all the changes are still only on the remote repository. You need to pull the changes to your local repository to see them locally.
git pull origin mainB.2 Synchronizing your tutorial repository - your branch
Notice that the changes from the upstream repository are reflecting only on the main branch. If you want the changes to be reflected on your branch, we need to synchronize your branch with the upstream repository too. We will see how to do this on the GitHub website.
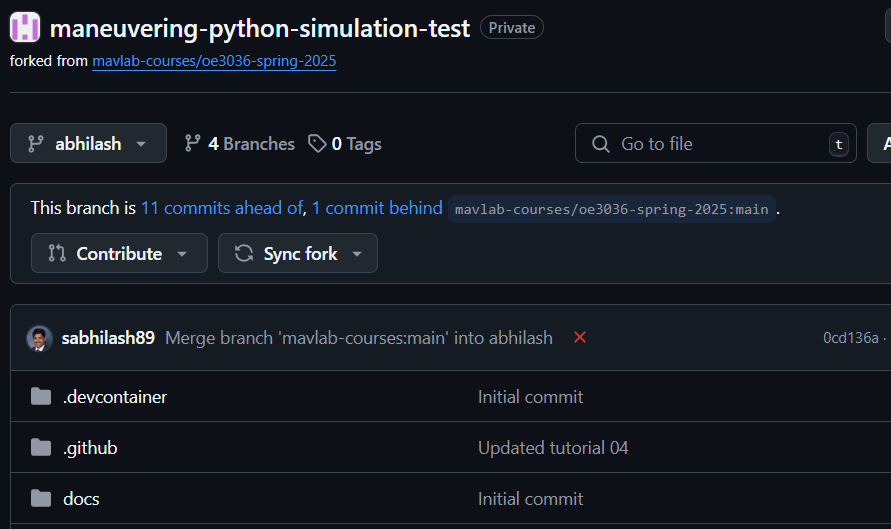
Navigate to your tutorial repository on GitHub. Switch to your branch by clicking on the main branch and selecting your branch from the dropdown menu. Once on your branch, you will the a message similar to one shown below:
This branch is XX commits ahead of, 1 commit behind mavlab-courses/oe3036-spring-2025:mainSee the Figure B.5 below for an example.
This means that your branch is behind the main branch on the upstream repository by 1 commit. To synchronize your branch click on the Sync Fork button as shown in Figure B.6.
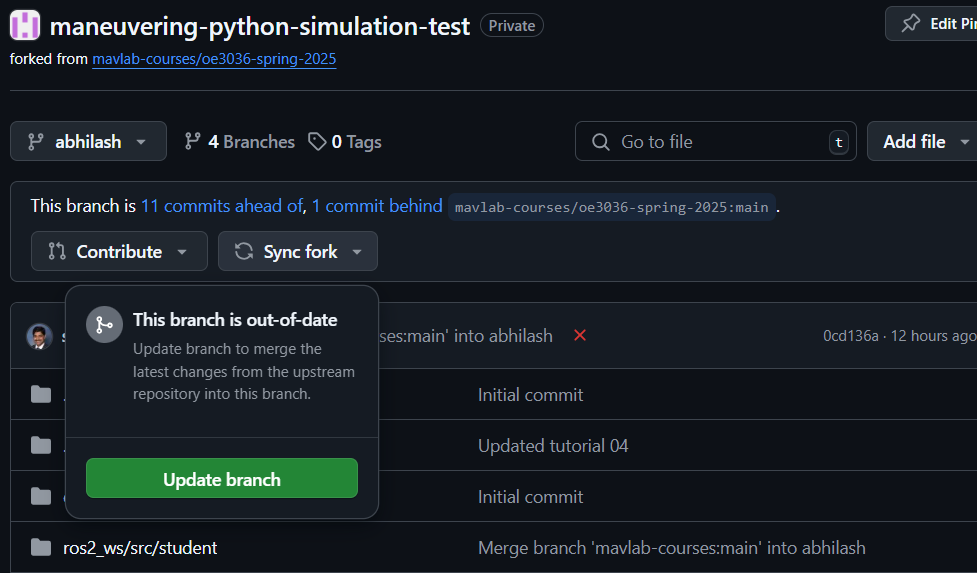
Once you click on the Sync Fork button, click on the update branch button as shown in Figure B.6. After the branch is updated, your branch will also be synchronized with the upstream repository and should look similar to Figure B.7.

Remember that all the changes are still only on the remote repository. You need to pull the changes to your local repository to see them locally.
git pull origin <your-branch-name>